Sunday, March 23, 2014

Tissue paper flower using Floral framelits & Daydream Medallion

Happy Sunday! Yesterday my family and I enjoyed a beautiful day of sunshine, we cleaned the yard and played some baseball and celebrated my oldest son's 16th birthday. Today we are back to snow! Gotta love Montana. Since I am in the mood for spring I wanted to show you a flower I CASED from Connie Stewart. She has a great video on it. So I played around in a few different ways and want to share with you what I came up with.
First I start with a a standard piece of tissue paper.
Then you fold it in half hamburger style. I hope you know what I mean a lot of people have not heard that term before, in other words fold in half so that it is fat and not skinny.
Next you want to fold that in half again, same direction as last time.
Then you want to grab one end and bring it to the other end folding it in half.
Now you want to tri-fold this last part. So it is folded into thirds.


Now you will need the second to largest floral framelit and the big shot.
After you run this through the big shot you will have 24 individual pieces of tissue in the Floral Framelit style.
Now you can make a tissue flower using 12 or 24. So you could have 1 really full flower made up of 24 tissues or make 2 flowers each containing 12. But we have to stamp them first before we put them together.
Once you stamp each of them you will stack them all together, place them on the paper piercing mat and using the piercing tool, pierce the center. You will then put a small brad in the hole to keep them all together. The brad is never shown so don't worry about using a nice one. Then you fluff each tissue one at a time. Now I was so excited to put it together I forgot to take pictures for you along the way. So I did another one but smaller so I will show you that process. But here is the finished one with 12.

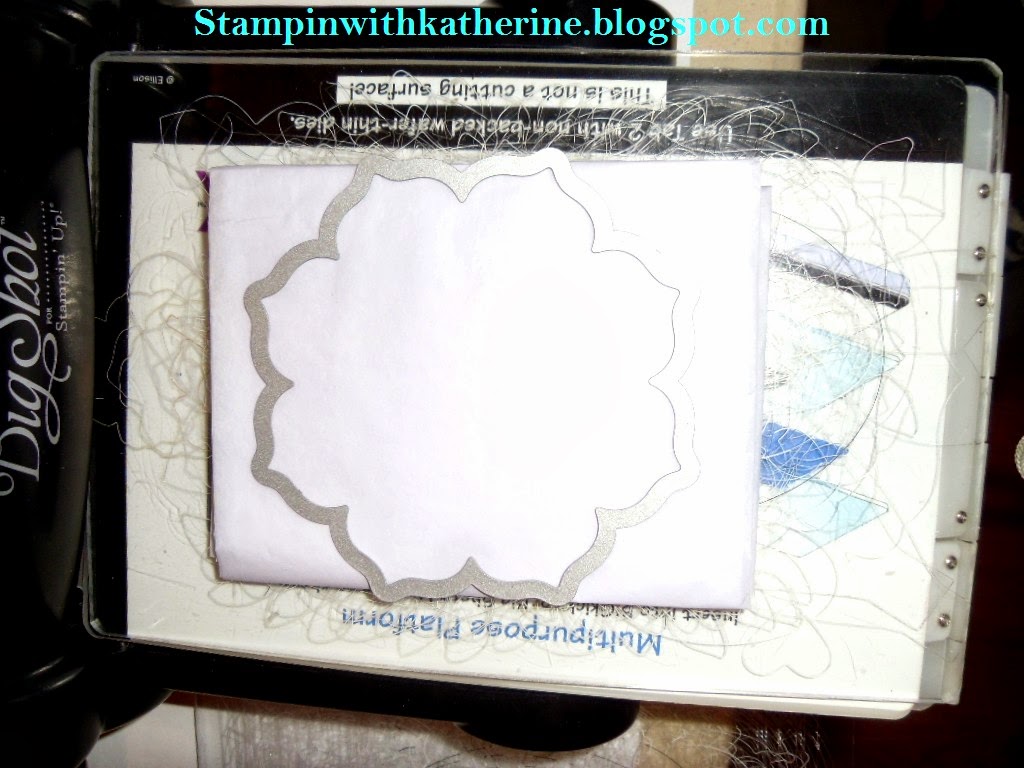
So here is the small one. I used the 2nd smallest Floral Framelit to create the small flower.
So you want to repeat the folding process with the tissue paper as I showed earlier. But when using the big shot you want to run it through using the 2nd smallest Floral framelit, you will get the same amount of tissues.

Then stamp each one using the Daydream Medallion stamp set.
Stack them all together and put them on the paper piercing mat.

Then you will use the brad to hold them all together.
 Now you want to fluff each piece of tissue to get the flower shape. When using the center you will squish (technical term) them tight and lighten up the squishing (more technical term) as you go to the last one.
You have all kinds of sizes of flowers you can make. So I decided to cut out a purse from the purse die cut and big shot.
I used the same Daydream Medallion stamp set and cherry cobbler to decorate the purse and then I put it together.
This purse is so cute. The purse needed something so I adhered my newly made rose to it with a glue dot.


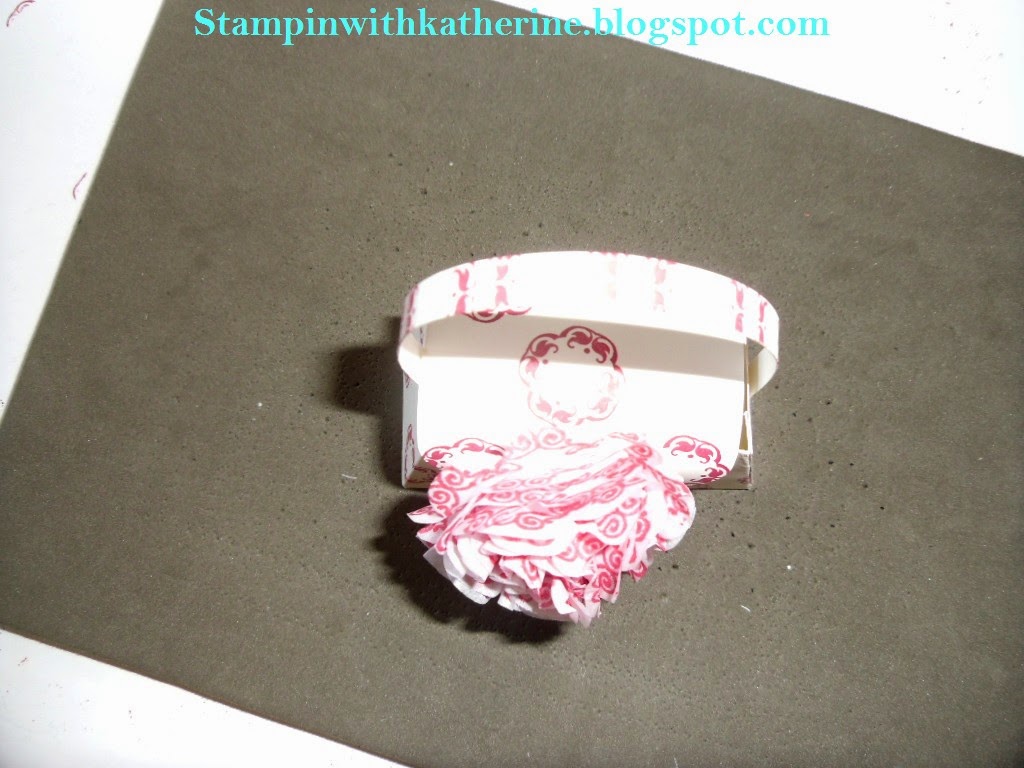
This is how the small flower looks using 12 tissues, the large flower using all 24 and the large flower using 12.
Thank you for stopping by today. I hope you enjoyed today's tutorial and will leave me your comments. Until next time keep Stampin With Katherine. For all the supplies here check out my website.


3 comments:

debbie adelt said...

Wow, Wow, Wow. this flower is beautiful!! Looks like you can use different shades of a color and make a great flower with the framelits!! Thank you so much for this idea. Debbie

Unknown said...
This comment has been removed by the author.
Unknown said...

Thank you for your kind words Debbie. Glad you enjoyed it.

Paper Pumpkin